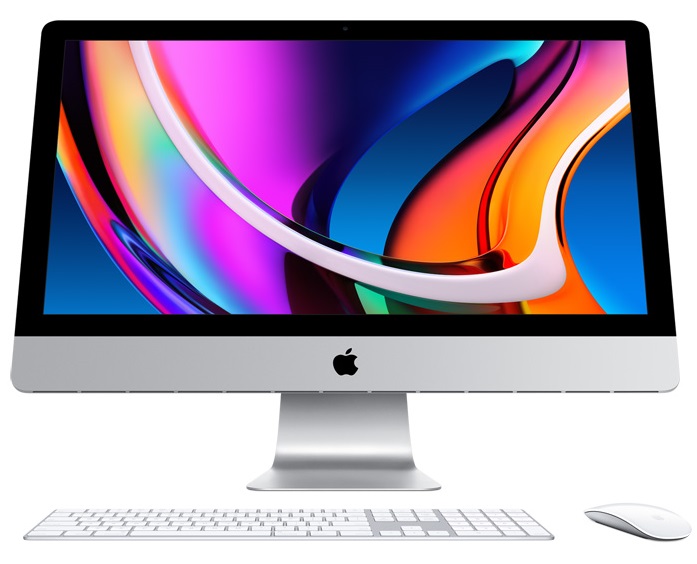
To take a screenshot on a Mac, you can use the built-in screenshot tools. Here are the commonly used methods:
- Capture the Entire Screen:
- Press Command + Shift + 3: This captures the entire screen and saves the screenshot as a file on your desktop.
- Press Command + Control + Shift + 3: This captures the screen and copies the screenshot to the clipboard, which allows you to paste it into another application.
- Capture a Selected Portion of the Screen:
- Press Command + Shift + 4: This changes the cursor to a crosshair. Click and drag the crosshair to select the portion of the screen you want to capture. Release the mouse button to take the screenshot. The screenshot is saved as a file on your desktop.
- Press Command + Control + Shift + 4: This changes the cursor to a crosshair. Click and drag the crosshair to select the portion of the screen you want to capture. Release the mouse button to take the screenshot. The screenshot is copied to the clipboard.
- Capture a Specific Window:
- Press Command + Shift + 4. The cursor changes to a crosshair.
- Press the Spacebar. The cursor changes to a camera icon.
- Move the camera icon over the window you want to capture. The window will be highlighted.
- Click the mouse or trackpad to capture the window. The screenshot is saved as a file on your desktop.
- Press the Option key along with the above key combinations to copy the screenshot to the clipboard instead of saving it as a file.
After taking a screenshot, you can find the saved screenshot file on your desktop with a name starting with "Screen Shot" followed by the date and time of capture.
These are the basic methods for taking screenshots on a Mac. However, there are additional options and shortcuts available for more advanced screenshot needs. You can explore those options in the "Screenshot" section of the "Keyboard" preferences in System Preferences on your Mac.


